Magento 2 tutorial: how to install with Composer
This guide will introduce you to Composer and demonstrate its applications with Magento 2 (now known as Magento Commerce/Magento Open Source), with a little bit of Git thrown in. You'll develop have a solid understanding of how to install Magento 2 via Composer, know what Composer can offer for other projects, and see how it can be used as a base to work with Git that mimics other modern PHP frameworks.
Please note, this guide was first published ahead of Magento 2 general availability and therefore can be subject subject to amendments.
1. What is Composer?
How many times have you started a new project by visiting the project’s website and downloading a TAR file or .zip archive? And how many times have you had to revisit that site when an update is needed?
The more technically astute readers may have mastered the commands Wget or cURL. This one time (or perhaps a few times during a project) this ritual is allowed and we use the same process every time we want a new dependency.
In the Magento world this is then extracted into the lib folder. Yet how many times have you installed an extra package only to be presented with the fatal screen of death indicating a missing package or class not found? Perhaps you then have to turn to PEAR or Google to download and extract more packages in the hope that we have concurred the software dependency tree for this package?
Although this may seem a convoluted scenario, as the world of software has evolved, so the number of dependencies and available packages has increased. Therefore this scenario cannot be avoided forever.
To solve this problem Jordi Boggiano began developing Composer, a tool for dependency management in PHP. It allows you to declare the libraries your project depends on, and will manage (install/update) them for you.
Composer may seem like an answer to all your prayers, but it does present new questions such as:
- How can I fit Composer into my workflow?
- How will this not add more time to my build process?
I had similar questions when I first began using Composer, but before long I realised the countless hours saved in resolving dependency issues more than made up for the time spent introducing it to development processes.
Composer ensures all of our development team works from the exact version of the modules we require for our work, and is a valuable tool for any PHP engineer.
Not only can Composer handle our dependencies, but it can also establish a base project to work from.
If you don’t have Composer installed, head over to http://getcomposer.org and follow the relevant starter guide your operating system. Once installed, run the following:
2. Magento and Composer
composer
create-project
—stability=beta
—no-install magento
/project-community-edition
Magento
Let’s break this down step by step. First we call a Composer command for ‘create project’. This creates a new folder and prepares us for a project setup with Magento 2 (now known as Magento Commerce) within it.
Stability is a little easier to grasp. Composer knows the stability of packages and we can use Alpha, Beta or Stable types of packages. For the purpose of this guide we’ll use the Magento 2 Beta. Up next we pass an argument into Composer for
–no-installThis tells Composer to only download the files that come from the project repository, and do nothing else. Composer could look at the composer.json file in the new project and start installing all dependencies from there. Although we want to add more packages later, we don’t want to go through the install process yet. This action defers the actual Composer install until it is required. Now for the main event:
magento/project-communityeditionis the package we want to download. This can be considered a placeholder for the actual Magento 2 project. Better still, this repository acts as the blueprint for composing a full Magento 2 project and it’s common for frameworks to offer this ‘skeleton’ approach to start projects. The Magento 2 team recommend this approach over installing the Magento/ Magento2 repository via a Git clone.
Last but not least, you will need to specify a folder name that we want the project to be installed with. In this example we will have a folder called Magento with Magento 2 installed within it. At the end of this process, we have a Magento 2 project installed via Composer, but what are some immediate benefits?
For starters, an upgrade to a new Beta version is much more straightforward. Remember the days you dreaded a Magento 1 upgrade landing on your desk? Dread no more; simply open the composer.json file and find the version number specified next to the Magento 2 package. Then, simply modify this to the version you need. Save the file and run a Composer update.
Hey presto, the source files have been updated to the specified version of Magento. Granted, there is more work to do, but that should just be a simple php bin/magento setup:upgrade, but this is a topic for another pocket guide.
3. Magento, Composer and Git
It is good practice to use a source control management (SCM) tool to manage our projects. Other SCMs are available, but for the purpose of this pocket guide we will use Git.
Let’s begin by adding some files. Magento 2 (now known as Magento Commerce/Magento Open Source) has shipped with a default .gitignore file. However this has been offered to cover the most general of cases. If we wanted to use this file to ignore parts of the project it would, but we would also still get a lot of Magento 2 owned code added to our repository. So is this bad? Let’s look at the options.
It isn’t the end of the world for us to add Magento 2 to the repository – we have done the same for Drupal, WordPress and Magento 1 sites for example. We can still deploy a project with the source files from the framework added to it. The one thing to note here is that once we have identified that our version of Magento 2 needs updating, we would need to modify the composer.json version constraint, run composer update, and commit all the files that have changed. So you would get:
composer.json
composer.lock
… All of the Magento files
that have changed
In my opinion, this can bloat the project’s history with what could be a mass update of files. As it involves managing the dependencies of the project, this approach also does the job of Composer. Magento 2 is just a dependency of our project and is not the project itself. Keep that in mind.
By including Magento 2 as a dependency within the Composer file it creates lots more opportunities such as when we are creating new extensions we can tell our continuous integration server to run the test suite against different versions of Magento 2 just by modifying the version of the dependency in the composer.json file.
However, we are using Composer to install our framework, so if Composer has the functionality to manage the dependencies down to the exact releases / version, why do we need to also rely on Git pinning our version for us?
We know that if we modify a core file and want to revert it back to its initial state we can easily run a Composer update. If we are lucky then Composer will have maintained a cached copy of this version so it doesn’t even need to hit the internet to retrieve a copy.
Author’s disclaimer: There is nothing fundamentally wrong with the first approach. I have personally used this method and probably still would if there was no other option. But the second point shows a leaner / different method to managing our dependencies and managing our workflows with Git and Composer.
Have I sold you on the Composer dream yet? If so I can hear you banging on the computer screen in anticipation of what to do next. Well here we go: In your preferred editor of choice open up the project’s
.gitignoreA quick note on Git Ignores
As a quick point of reference if you see a file in the project that looks like .gitignore it means that when Git runs, the project will match the file or folder contained in this list and ensure they are never part of the project’s repository.
In Magento 2 (Magento Commerce/Magento Open Source), by default we are looking to exclude env.php and config.php among many more files and folders. These two are easy to highlight as they are both auto-generated files that could be different per user and will be different per server (database passwords and username). It is also worth noting that we should never commit credentials to the repository for security reasons.
Returning to our editor with the open .gitignore file you should see something that resembles the following:
/.buildpath
 /.cache
 /.metadata
 /.project
 /.settings
 atlassian
 /nbproject
 /sitemap
 /.idea
 ...
We want to ensure that none of the Magento 2 created files are added into the project. We do this by adding the paths to this file:
 /.htaccess
 /.htaccess.sample
 /.php_cs
 /.travis.yml
 /CHANGELOG.md
 /CONTRIBUTING.md
 /CONTRIBUTOR_LICENSE_
 AGREEMENT.html
 /COPYING.txt
 /Gruntfile.js
 /LICENSE*.txt
 /app/code/Magento
 /app/design/adminhtml/Magento
 /app/design/doc
 /app/design/frontend/Magento
 /app/etc
 /app/i18n
 /app/.
 /bin/
 /dev/
 /index.php
 /lib/
 /nginx.conf.sample
 /package.json
 /php.ini.sample
 /pub/
 /setup/
 /update/
 /var/
 /vendor/
4. Using Git
For anyone just starting out with Git I recommend reading a decent starter guide such as this before reading this section.
Now we are in a position to configure this folder to become a local Git repository and we can add the files / changes to it so we can see what is now part of the repository. From your terminal run the following commands:
git init – This initialises the project as a git repository (a special .git folder is added as well as a local database to store and calculate changes
git status– Running this command should allow you to see all the changes that can be either:
 Staged ( S )
 Added / Removed ( A / R )
 Not staged ( ? )
git add– Running this command takes all of the files that are not staged (not currently part of the Git repository) and adds them to the index.
git commit -m “Hello World”– This is the command that enforced the commit. We are committing the staged files into the repository and ensuring that any changes in these files and to these files will be tracked. Now the following command is optional.
If you use a service like GitHub, you want to make sure your changes are in that service. We need to push and pull changes to and from stores of the project:
git push remote service name remote service branch
We did a lot of things in a short space of time so let’s clarify what it is we have done and achieved.
We started by initialising an empty git repository in the folder where we used Composer to create a Magento 2 project. We then instructed Git via the
.gitignore file to ignore all of the folders that will contain only Magento code and never our own
(app/code/Magento, app/design/Magento)We did this because Composer is able to repeatedly download the same version of Magento based on our composer.json file.
Finally, we went through the workflow of seeing what changes have been made to the repository
(git status), we staged the files git add, and finally committed them into the repository history with a nice big
git commit. For those feeling brave we also pushed to a remote service like GitHub.
5. Magento upgrades
Imagine the scene. You walk into the office ready to slowly get into gear, when the first support ticket of the week lands on your desk.
Your most important client, “Luma”, wants to upgrade its Magento 2 store from 1.0.0-beta to the new and improved 1.1.0 version. Your heart sinks as you remember the last upgrade of Magento you did. Downloading files directly from Magento, copy-and-pasting them over, the database backups, the setup scripts – the list goes on.
Author’s note: The scenario may have been enhanced for dramatic effect.
However, Magento 2 now uses Composer to manage dependencies, including Magento 2. Magento 2 is now included in the composer.json file so we can install specific versions of the core platform. One of the future goals of the project is to decouple every module so we can be more granular with what versions of modules we are installing.
Open up composer.json in your editor and find the line that references “magento/product-communityedition”: “1.0.0-beta”.
Edit the dependency to be 1.1.0-beta, save the file, and run the composer update. Composer will whirl into action: reading remote repository…. getting data…. upgrading Magento….
Composer completes the upgrade cleanly without issue, but you know that,when moving between versions of Magento, it’s best practice to run the setup:upgrade script.
Run php bin/magento setup: upgrade and ensure it reports no errors. Looking back at the terminal application of your choice you can run composer status to see that the only two modified files are composer.json and composer.lock. You will also see a change for a composer.lockfile, but what does this refer to?
So far in this guide we have discussed how Composer can manage dependencies and even pin us to a specific release or version. It does this by maintaining a file called composer.lock, which references the exact commit that relates to the checked out version of the dependency. This means that no matter how many times we delete vendor and all other files, based on the versions that are set in the composer.lock we will always get the exact same version of the dependency. If composer.json says the dependency is version 1.0.0 then that is what we will get time and time again. There are ways that this can be changed – mainly by human error or by adding non-concrete version numbers in the composer. json file. One point to note is that when we do go into production we should only be running a Composer install to ensure we get the exact same versions of the dependencies as we have while working locally. If we ran Composer update there is a danger that we update the dependencies and introduce uncertainties.
6. Composer and versioning
Now is a good time to explain how versioning works in Composer.
So far in this guide we have referenced exact version match. For example,
1.0.0-betaHowever, there are alternatives that can be used:
- ~ can be used to indicate we want the most recent best match based on all dependencies
- = can be used to indicate we want any version that is greater than or equal to what we specify
- =1 is all packages greater than or equal to 1. 1.0, 1.1, 1.2, 2 etc.
- <= handles less than or equal to. E.g. 1.1.0 would get 1.0.0 etc.
- =X | <= Y ranges can also be used, but with the raft of other options this is considered far from best practice.
- ^X The caret operator has been introduced recently and acts similarly to how the tilde operator works. However, this time it understands Semver and will not bring in any non-breaking version changes. If you are writing a library then this is considered the operator to use.
7. Composer and stability
Knowing about Composer and some of the inner implementations is a must-have for software engineers these days.
Where we would previously have reinvented the wheel writing our own libraries for date and time, for example, we can now use the community to increase our productivity and only write code that meets our business domain.
Also, knowing about how versioning works will ensure we will not get any version surprises when we go live or when working in a team. Knowing about the different version constraints can allow us to pull in different versions of libraries depending on our team needs.
As well as specifying versioning for our code and dependencies, we can also specify stability. The common terms of stability are Alpha, Beta and Stable.
What is Alpha?
Alpha is considered to be bleeding-edge and very unstable software that is under active development. Breaking changes can be introduced during Alpha development, so it’s not recommended for production use.
What is Beta?
Beta refers to software that has had some work done to increase its stability and is ready for some users to use it. Anyone using Beta code should be aware that, unlike Alpha code backwards compatible (BC), changes are not allowed to be introduced, although in some instances they do sneak through. Beta software is still not recommended for production use, but can be used ready for a release and on non-critical implementations.
What is Stable?
So we know that Alpha should not be used in production, and Beta should not always be used in production. Stable is well, stable. It has no BC breaks, should follow Semver for its versioning on major minor and bug fixing, and can be used in production.
Using stability in a Composer project
You can specify what state of software we want to install by adding the following to our composer.json file:
minimum-stability: dev, alpha, beta, RC, and stable
Now, when the Composer update / install runs it will respect the project’s minimum stability when installing packages, and only install those that match this requirement. If there are no packages that match this requirement, you will receive a Composer error informing you that nothing can be installed with this level of stability.
Specify package level stability
Project level stability is great, but sometimes we want to be more selective and only install certain packages that are either Alpha, Beta etc. To do this we can specify the stability under the require section of composer. “require”:
“monolog/monolog”: “1.0.@dev”Pretty simple, but do remember that if you are using Alpha or Beta dependencies within your project then you may see bugs with the package, as it is still evolving and not production-ready.
8. Finding packages
So far we have seen how easy it is to install dependencies into our project, but what we have not covered is how to find all of these packages.
The kind folk at Composer have provided us with Packagist. Think of Packagist as the Google of PHP project dependencies; it is an indispensable tool.
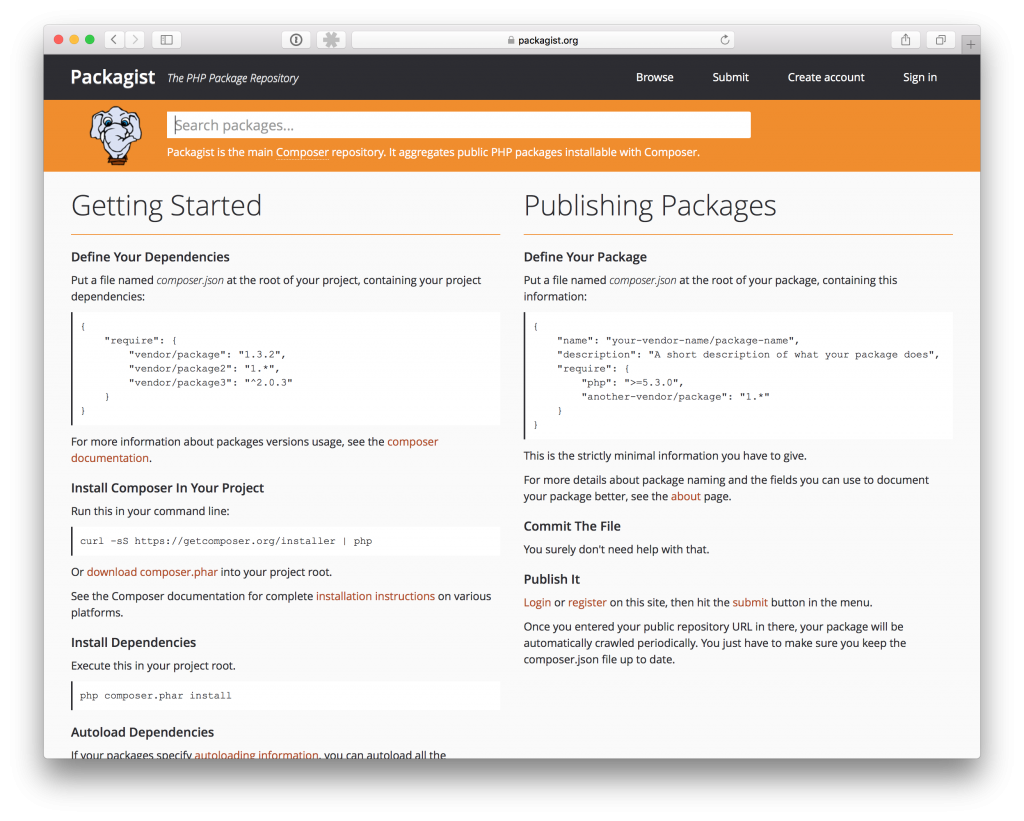
What could be more simple? We know that we want to add some level of logging to our system so searches for log generates the following results:

It gets even better. The results show a basic description, dependencies, number of downloads, and ratings from the Packagist community, and links to Git repositories.Packagist also provides the information required to add to the Composer file or the necessary command line:
“psr/log”In the ‘How to create a Command Line module’ guide we will cover how to install and use packages from Packagist, and how they are autoloaded using the composer and Magento 2 (now known as Magento Commerce) autoloader. If you want to learn more about how to use a package, the Composer website has a really good beginner’s guide that will help you get started.
9. Conclusion
This brings us to the end of this adventure into Composer, Git and Magento 2( now known as Magento Commerce/Magento Open Source). I hope that after reading this guide you:
- Feel confident to install Magento 2 via the command line
- Know the basics of Composer
- Are happy with versioning
- Can find third party packages that can be used within Magento 2
- Understand the importance and role of SCM